As the photographer (author/creator), your work is copyrighted as soon as you finish creating it. While you own the copyright to your images, you will want to register them with the Copyright Office to have a more complete protection of your images. In this article, I’ll share a workflow that may work for you and walk you through the online interface for registering them with the Electronic Copyright Office at https://eco.copyright.gov
Copyright Registration Workflow
- Get it on your schedule. Every 6 months gather up your recent photos and create a zip(compressed archive) to file with the copyright office. The current fee is $45 fee but there’s a comprehensive list they provide of all the possibilities. https://eco.copyright.gov
- Have a system to make it easy for yourself. In Lightroom or comparable software, as you import and pick your final selects for editing, color code the images that need to be registered. Next time you are ready to register you can filter by color and know exactly which ones to send. You may want to have a second color label to change it to once they’ve been registered or simply remove the color label at that time so you are not mistakenly registering an image more than once.
- Make it easier with metadata. Attach a keyword you will use consistently for these images ie. Filed Copyright, Registered. Additionally, once you’ve filed with the copyright office, the filing will be assigned a case number. Use the case number as a keyword in that batch of images as well. This will help you easily identify the correct copyright certificate should you need to go to court.
Preparing Your Images for Registration
- Size them down. If you use the workflow above you can simply “filter” them in Lightroom or a comparable app to gather/select them and export them all into a folder. An app like Photo Resize is also a quick and easy way to size them if you are gathering them manually. Size them big enough that they can easily be identified should you have to present a case in court but small enough for them to be uploaded more quickly. Somewhere around 1600 – 2000 px on the long side should suffice.
- Add your watermark somewhere on the image. Watermark it somewhere at the bottom of the image so you are not obstructing the image but it’s clearly marked “©2020 [Your Name], All Rights Reserved.” You can do this while exporting from Lightroom or comparable software. While it’s not necessary I would highly encourage it because they are being filed with the Library of Congress and could potentially be available to the public in some instances.
- Zip (compress) the folder. The uploading interface on eco.copyright.gov will timeout at 60 minutes. Make sure it will upload in that timeframe. If not, you will need to break it up and create 2 or 3 zip files. The interface enables you to browse and select one file at a time, then upload them as a group in one session for your case filing.
Now You Are Ready To Upload
The application process has 3 steps.
- Complete an application
- Make your payment
- Upload the file/s.
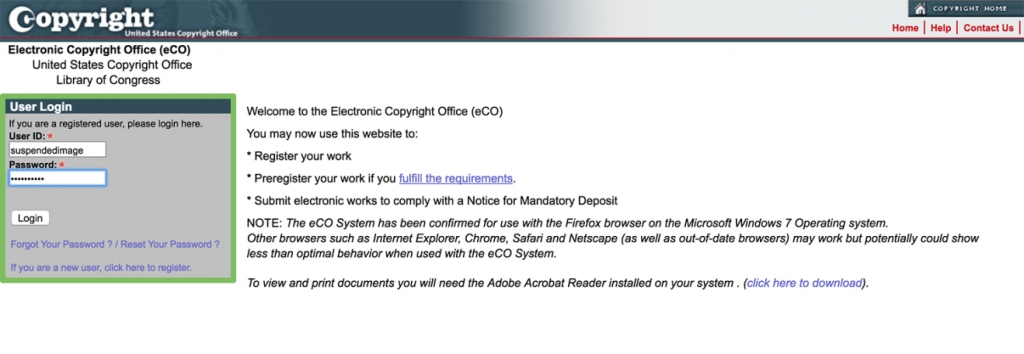
Go to eco.copyright.gov and register if you have not already done so. Once you are registered, log in.
Once you are logged in, you will see this screen. Select Register a New Claim.
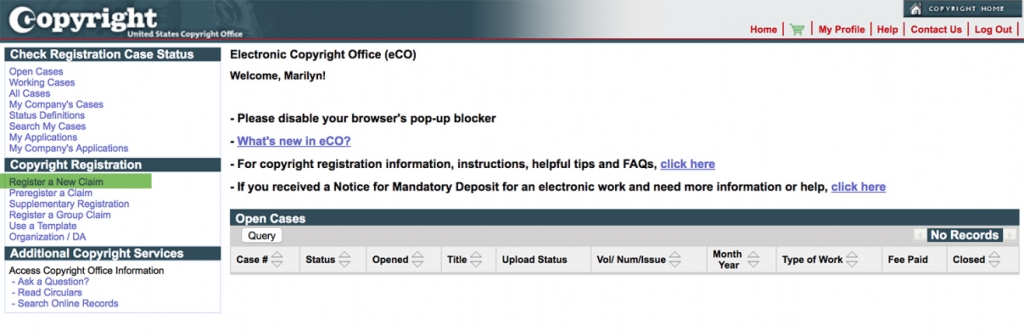
Register a New Claim
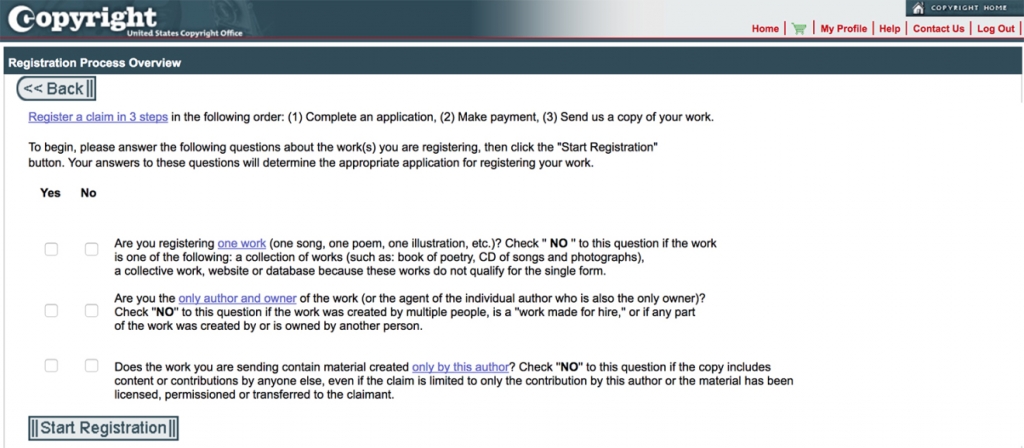
Read each option and select accordingly, then Start Registration. For me, this is typically a No, Yes, Yes, but it may be different for you.
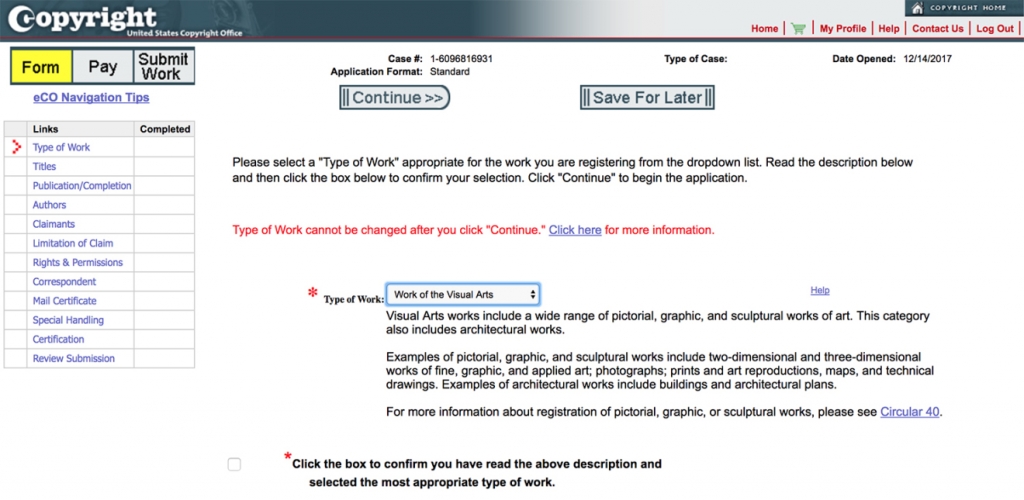
Next, you are asked to select the Type of Work from the drop-down menu. For photographs, select Work of the Visual Arts.
The list on the left side of the screen identifies each step of the application process. The red arrow will progress as you complete each section.
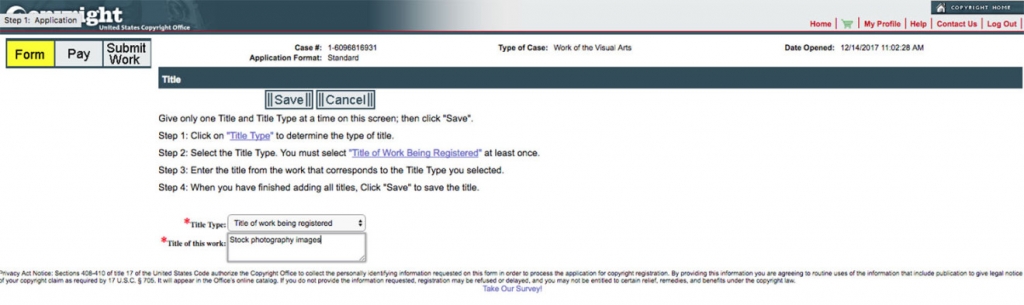
Next, you need to provide a Title for the work.
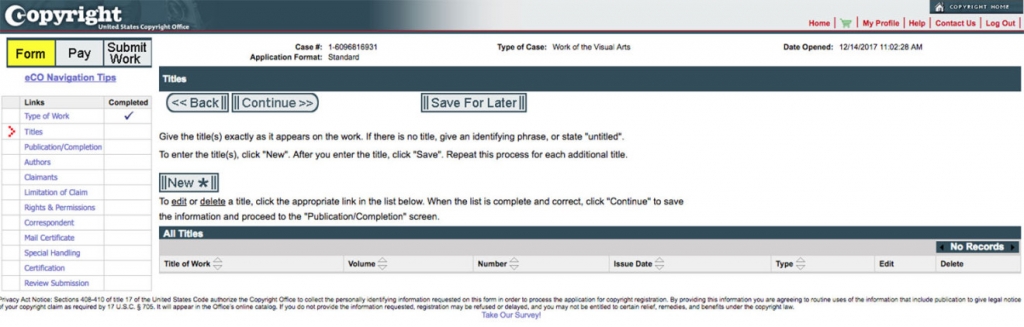
When submitting a batch of various stock photos, I name the BATCH as opposed to giving each image a title. That would be crazy take too much time and is not necessary.
Follow the screens. By now you have a good idea of the application process. The interface is very dated but each screen has an explanation of what is required.
Quick Tip: For the purpose of copyright, your work is also considered “published” as soon as you share it on social media.

Once you’ve completed all the sections of the application you will get a preview. Next, you will Add to Cart and make your payment.
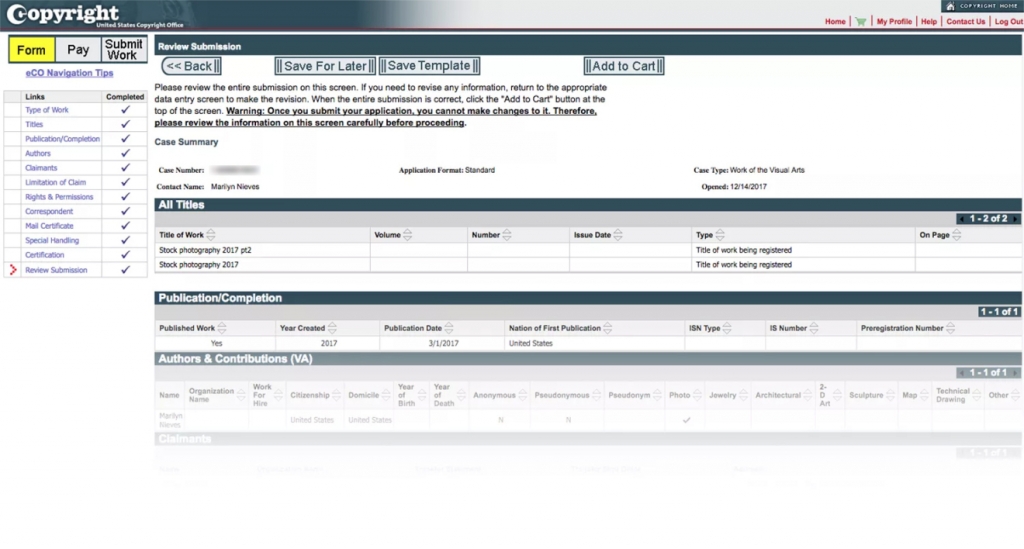
After your payment has been made, you will upload your zip file/s.
Once successfully submitting your work, in several weeks you’ll receive a copyright certificate in the mail. It’s an easier process than most anticipate. Don’t put it off and get your work protected.